
How to Create YouTube Shorts Using CapCut App (Step-by-Step Guide)
YouTube Shorts are short, engaging vertical videos designed for quick viewing. If you want to create high-quality YouTube Shorts, CapCut is one of the best free video editing apps to use. In this guide, we’ll walk you through how to create YouTube Shorts using CapCut with step-by-step instructions.
Step 1: Open CapCut & Start a New Project
- Launch the CapCut app on your mobile device or PC.
- Tap “New Project” to start editing.
- Select the video clips or images you want to include in your YouTube Short.
Step 2: Set the Right Aspect Ratio for YouTube Shorts
YouTube Shorts require a 9:16 aspect ratio (vertical format).
- Tap “Format” in the toolbar.
- Select 9:16 to optimize your video for YouTube Shorts.
- Resize or reposition your clips to fit the vertical frame properly.
Step 3: Trim & Arrange Your Clips
Since YouTube Shorts can be up to 60 seconds long, you need to trim and arrange your clips carefully:
- Tap the clip on the timeline and select “Split” to cut unnecessary parts.
- Drag and reposition clips to create a smooth sequence.
- Keep your Short engaging and fast-paced to grab attention quickly.
Step 4: Add Text & Captions
Adding text helps engage viewers and improve accessibility.
- Tap “Text” and choose “Add Text” to insert captions or titles.
- Customize the font, color, size, and animation.
- Position the text to avoid covering important visuals.
💡 Tip: Use captions for better viewer retention, especially for sound-off audiences.
Step 5: Add Background Music & Sound Effects
- Tap “Audio” and select “Sounds” to browse CapCut’s free music library.
- You can also import your own music or extract audio from another video.
- Adjust the volume and use the fade-in/out effect for a smooth transition.
- Add sound effects for extra engagement.
Step 6: Apply Effects & Transitions
- Tap “Effects” to add filters, color grading, or motion effects.
- Use “Transitions” to create smooth scene changes.
- Don’t overuse effects—keep it clean and professional.
Step 7: Add Stickers & Overlays (Optional)
CapCut offers stickers, GIFs, and overlays to make your video more dynamic:
- Tap “Stickers” to add fun elements.
- Use the “Overlay” option to insert additional footage or animations.
Step 8: Export in High Quality for YouTube Shorts
Once you’re satisfied with your video, it’s time to export:
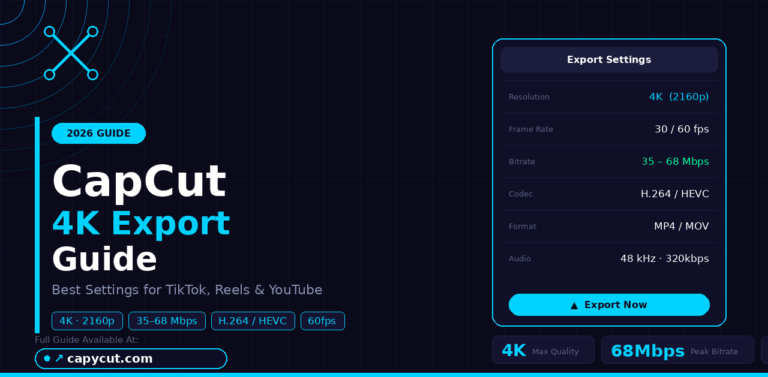
- Tap the Export button (top-right corner).
- Set the resolution to 1080p or higher for the best quality.
- Choose 60 FPS for smooth playback.
- Save the video to your device.
Step 9: Upload Your Short to YouTube
- Open the YouTube app and tap “+” > “Create a Short”.
- Select your edited video from your gallery.
- Add a catchy title, description, hashtags (#Shorts), and relevant keywords.
- Choose a thumbnail and set visibility to Public.
- Tap Upload to publish your YouTube Short!
Pro Tips for Creating Viral YouTube Shorts
Hook viewers in the first 3 seconds to increase retention.
✔ Keep videos short, engaging, and straight to the point.
✔ Use bold text overlays and captions to enhance clarity.
✔ Match the beat of the music with visual transitions.
✔ Add hashtags (#Shorts) for better discoverability.
✔ Post consistently to increase visibility on YouTube’s Shorts feed.
By following these steps, you can create high-quality YouTube Shorts using CapCut and grow your channel faster!